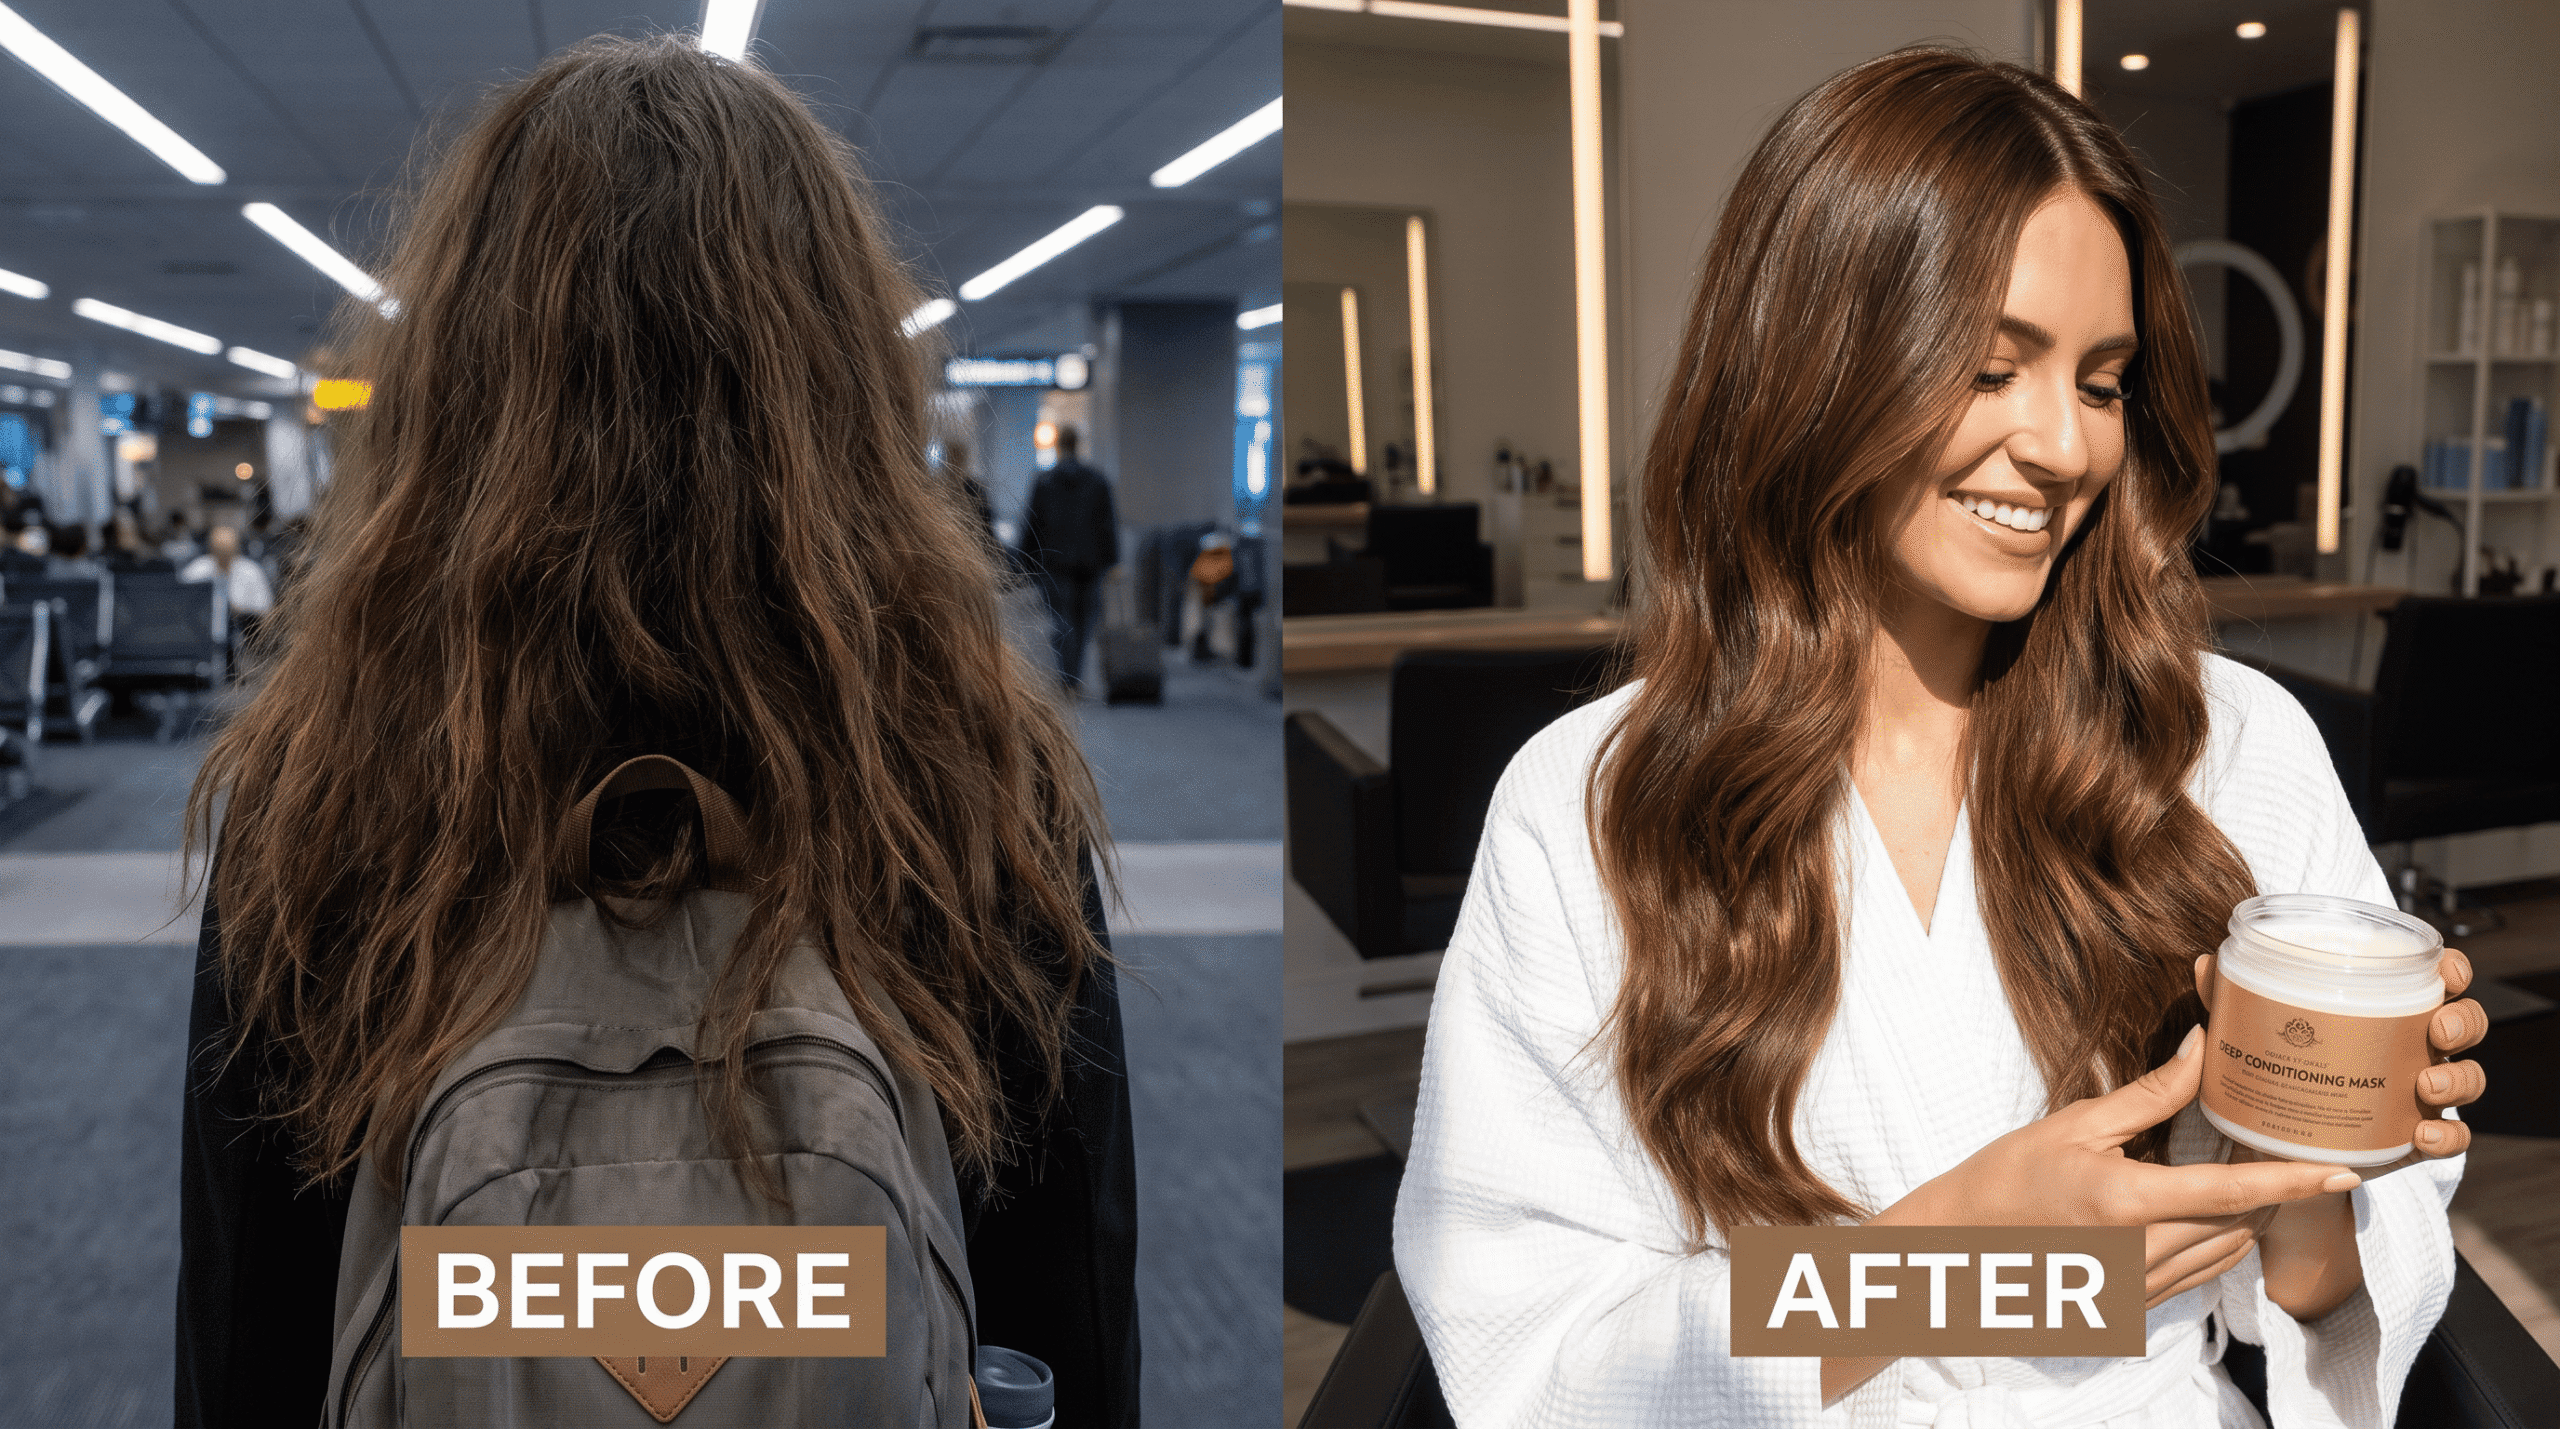
There is a specific kind of panic that hits when you are standing at the airport security line watching the TSA officer pull your bag aside because your foundation bottle is 3.5 ounces instead of 3.4.
Everything spills out. The line behind you grows. You either surrender your favorite moisturizer or you miss your flight trying to negotiate with someone who has heard every excuse in the book.
It does not have to be this way.
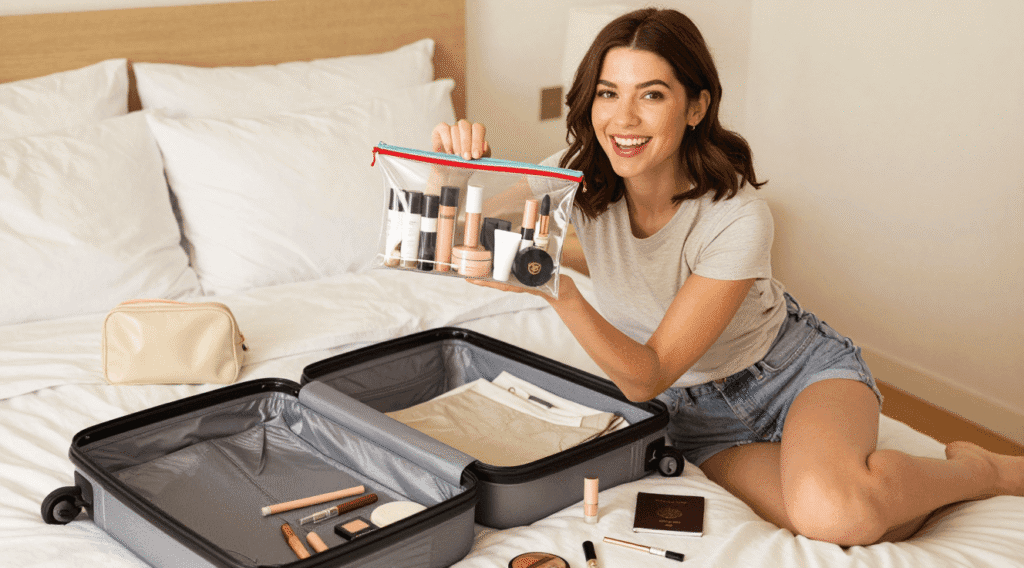
Packing cosmetics in a carry on for a 3 day trip is genuinely one of the most solvable travel problems there is. You do not need to check a bag. You do not need to sacrifice your entire routine. And you definitely do not need to show up at your destination looking like a completely different person because you left all your products at home.
You just need a system.
This guide gives you exactly that. What to bring, what to leave behind, how to pack it, how to get through TSA without drama, and the exact products that work best for short trips.
Why Most People Overpack Cosmetics for Short Trips
The “What If” Mindset Is Ruining Your Packing
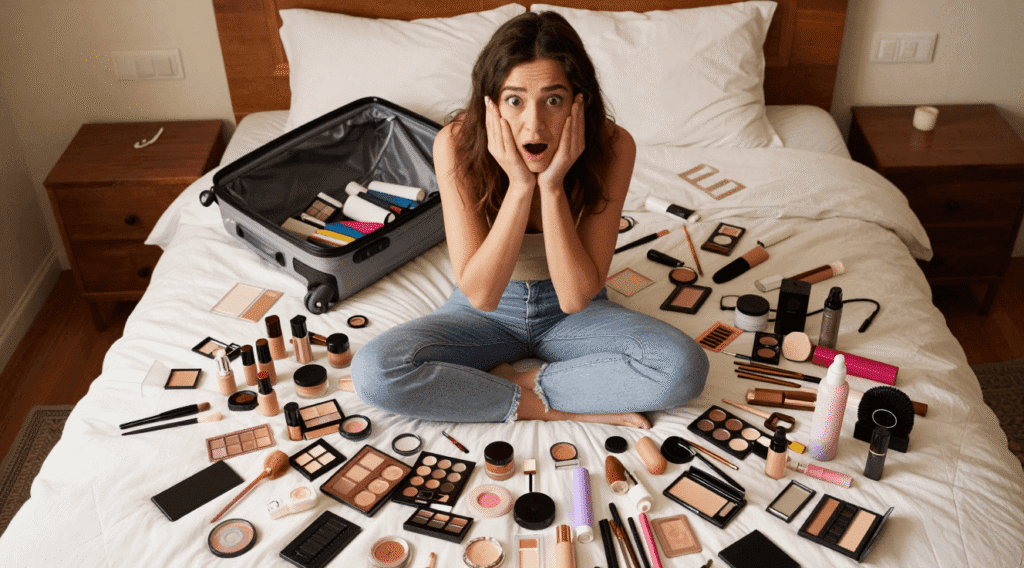
Most people pack for a 3 day trip like they are preparing for a 3 week expedition. They think about every possible scenario. What if we go somewhere fancy? What if my skin breaks out? What if I want a bold lip one night?
The result is a cosmetics bag stuffed with 15 products when 6 would have been more than enough.
For a 3 day trip specifically, this mindset costs you in two ways. First, you end up checking a bag you did not need to check, adding time and money to your trip. Second, you spend the entire trip lugging around products you never actually open.
The shift you need to make is simple. Pack for what you will actually do, not for every theoretical situation that might occur.
Full Size Products Are Almost Never Necessary for 3 Days
A standard foundation bottle contains enough product for roughly 30 to 50 uses. For a 3 day trip you need exactly 3 to 6 uses depending on whether you wear it day and night. Bringing the full bottle makes no logical sense but most people do it anyway out of habit.
Travel sizes, decanted products, and multi-use items solve this completely. You bring exactly what you need and nothing extra takes up space or adds weight.
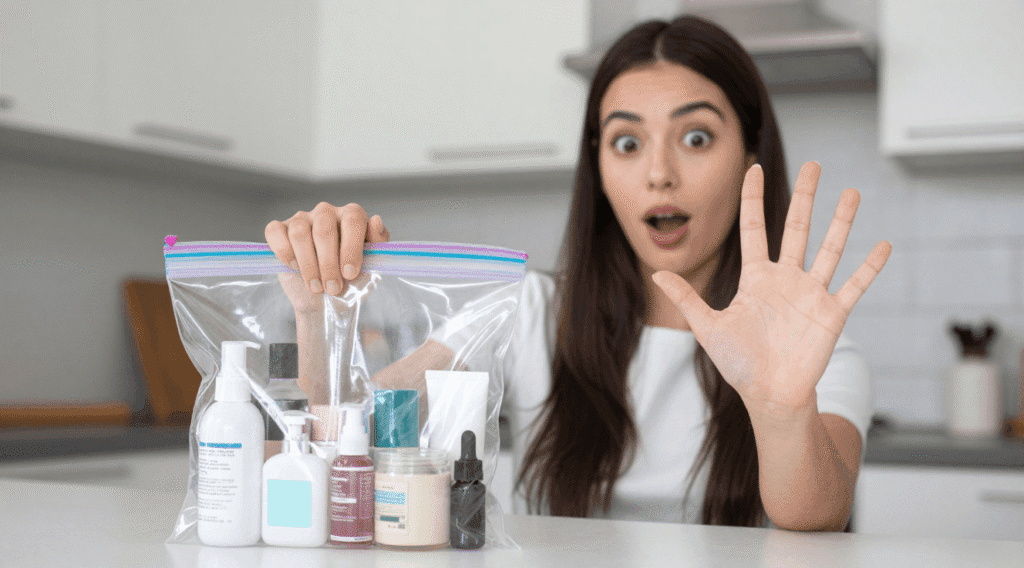
Understanding TSA Rules for Cosmetics Before You Pack
The 3-1-1 Rule Explained Simply
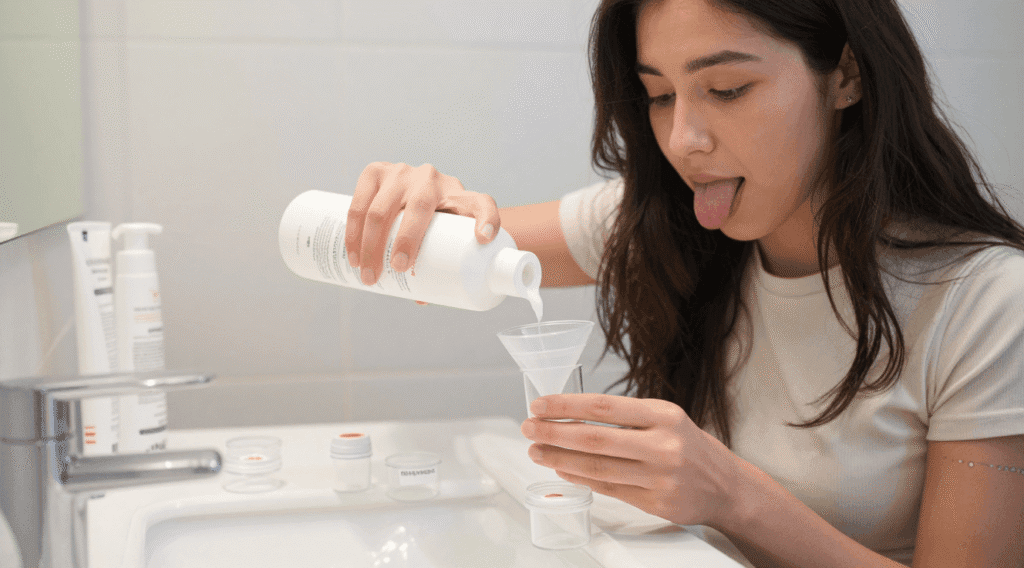
TSA operates on what is called the 3-1-1 rule for liquids in carry on bags. Each liquid, gel, cream, paste, or aerosol must be in a container of 3.4 ounces or 100 milliliters or less. All of these containers must fit in a single clear quart-sized zip-lock bag. Each passenger is allowed one such bag.
That is it. Three point four ounces, one zip bag, one bag per person.
The confusion most people have is around what counts as a liquid. In TSA terms, liquids include things you might not immediately think of. Foundation counts. Moisturizer counts. Mascara counts. Lip gloss counts. Setting spray counts. Even toothpaste and dry shampoo aerosols count.
What does not count as a liquid: pressed powder products, solid lipsticks, pencil eyeliners, solid eyeshadow palettes, and solid makeup sticks. These can go anywhere in your bag without restriction.
What Happens If You Get It Wrong
If a product does not fit the 3-1-1 rules, TSA will ask you to surrender it or go back and check your bag. There is no negotiating. There is no “but I only have a little bit left.” The rule applies to the container size, not the amount inside.
This is why knowing the rules before you pack saves you money, time, and the genuine grief of losing a product you love.
Pro Tip Most Travelers Miss
You are allowed one quart bag per person. If you are traveling with a partner or family member, each person can carry their own quart bag. For couples traveling together, coordinating who carries which shared products doubles your liquid allowance effectively
.
The Core Packing Philosophy for a 3 Day Cosmetics Kit
Multi-Use Products Are Your Best Friends
For a 3 day carry on trip, multi-use products should be the backbone of your cosmetics kit. A tinted moisturizer with SPF replaces your moisturizer, foundation, and sunscreen in one product. A lip and cheek tint replaces both your blush and your lip color. A brow pencil with a spoolie replaces your brow gel and your brow powder.
Every time you find a product that does two or three jobs, you eliminate one or two products from your bag. Over the course of building your kit, those eliminations add up significantly.
The Rule of Three Looks
For a 3 day trip, you realistically need cosmetics for three looks maximum. A daytime natural look, an evening slightly more polished look, and a fresh-faced no-makeup-makeup look for travel days or casual exploration.
Build your kit around these three looks and ask yourself for each product you consider packing: does this serve at least one of these three looks? If the answer is no, leave it behind.
Decanting Is Non-Negotiable
If your favorite products come in full-size bottles and you are not willing to swap to travel sizes, decanting is the answer. Small reusable travel containers in 1 ounce, 1.5 ounce, and 2 ounce sizes let you bring exactly the amount you need of any product while staying well within TSA limits.
Invest in a set of good quality travel containers once and they will last you years of trips. Silicone squeeze bottles work best for thicker products like moisturizers and foundations. Small dropper bottles work for serums and liquid products. Flat screw-top pots work for balms and thicker creams.
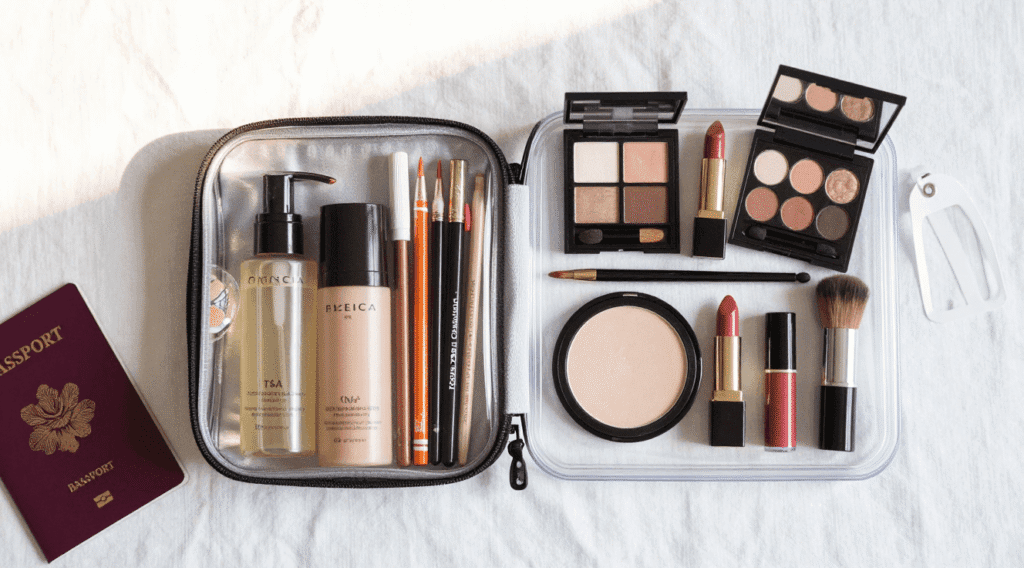
What to Actually Pack: The Complete 3 Day Cosmetics List
Skincare First Because Skin Is Your Base
Skincare products take up the most space and liquid allowance in your cosmetics kit, so they deserve careful thought.
For a 3 day trip you need a gentle cleanser in a travel size or decanted into a small bottle. You need a hydrating toner or essence in a small container. You need your serum, one targeted serum that works for your main skin concern. You need a moisturizer. And you need SPF.
That is five skincare products. For a 3 day trip, five is enough. You do not need your full 8-step routine. Your skin will survive three days without your weekly exfoliation mask and your vitamin C booster and your retinol treatment. Focus on cleanse, hydrate, protect. Everything else is optional.
If you use a tinted moisturizer with SPF, your moisturizer and your sunscreen and your light base makeup all become one product. That eliminates two products from your liquid allowance immediately.
Face Makeup: Keep It Minimal and Multi-Purpose
For face makeup on a 3 day trip, your kit should contain exactly the following.
A tinted moisturizer or light coverage foundation in a travel size. A concealer for under eyes and any spots you want to cover. A powder product for setting, either a pressed powder or a small blotting powder. That is your entire face makeup kit.
The tinted moisturizer handles your base coverage and SPF. The concealer handles anything that needs more coverage than the base provides. The powder keeps everything in place. Three products that deliver a complete face makeup application.
If you want more coverage than a tinted moisturizer provides, a compact foundation in a pressed powder form is an excellent carry on option because it does not count as a liquid. You get better coverage without using any of your precious liquid allowance.
Eye Makeup: The Versatile Kit
Eyes are where most people struggle to pare down because they feel like eye makeup requires a lot of products. It does not, if you choose the right ones.
For a 3 day trip you need a mascara in a travel size or just use a nearly-finished tube you already own. You need one eyeshadow option, either a versatile single shade or a small dual-sided palette that gives you a day and night look. You need an eyeliner pencil, which does not count as a liquid and can travel freely. And you need your brow product of choice, pencil or gel.
That is four eye products that cover every look from casual day to polished evening. Mascara and a neutral eyeshadow with a pencil liner creates a day look. Add a darker shade in the crease and a tighter liner and it becomes evening.
Lip Products: Two Maximum
For a 3 day trip, two lip products is the perfect number. A tinted balm that works as a casual day look and provides hydration. And a single lip color that works for your evening look, whether that is a lipstick, a liquid lip, or a liner that doubles as a lip color.
Solid lipsticks do not count as liquids and can go anywhere in your bag. This is worth remembering when you are choosing your evening lip product.
If you bring a lip and cheek tint that works for both your blush and your casual lip color, you eliminate one more product from your kit and free up liquid allowance for something more necessary.
Setting and Finishing Products
Setting spray is the one finishing product most people do not want to leave behind and for good reason. It genuinely extends the wear of your makeup in a way that nothing else does. Most setting sprays come in travel sizes that fit TSA requirements perfectly.
If you use setting powder, a small pressed powder compact does not count as a liquid and takes up minimal space. One compact handles both setting your base and touch-ups throughout the day.
How to Choose the Right Bag for Your Cosmetics
Not All Toiletry Bags Are Equal for Carry On Travel
The bag you put your cosmetics in matters as much as the products themselves. A poorly designed bag wastes space, leaks at inconvenient moments, and makes finding products a frustrating exercise.
For carry on travel specifically, you want a bag with clear or semi-transparent panels so you can see what is inside without unpacking everything. You want multiple compartments so your skincare stays separate from your makeup. You want a hanging hook so you can use it in a hotel bathroom without putting it down on a potentially damp counter.
Size matters too. Your cosmetics bag needs to fit inside your carry on bag along with everything else you are bringing. A bag that is 8 by 5 by 3 inches is a good guideline for a 3 day trip. Large enough to hold everything you need, small enough to fit in your carry on without taking over.
The Clear Quart Bag Strategy
Your TSA quart bag and your cosmetics bag are two separate things. The quart bag is specifically for getting through security. It holds all your liquids, gels, and creams so TSA can inspect them easily.
Your larger cosmetics bag holds everything else: your palettes, your pencils, your powders, your tools and brushes. This bag stays inside your carry on during security and does not need to come out.
Having this system clearly in your mind before you pack makes security significantly easier. You pull out the quart bag, it goes in the bin, everything else stays in your carry on.
Pack the Quart Bag Last and On Top
When packing your carry on, put your quart bag of liquids last so it sits on top or in the most accessible pocket. At security you need to pull it out quickly. If it is buried under everything else you are creating unnecessary stress for yourself.
Many experienced travelers keep their quart bag in the outer pocket of their carry on specifically for this reason.
The Exact Packing Order for Your Cosmetics
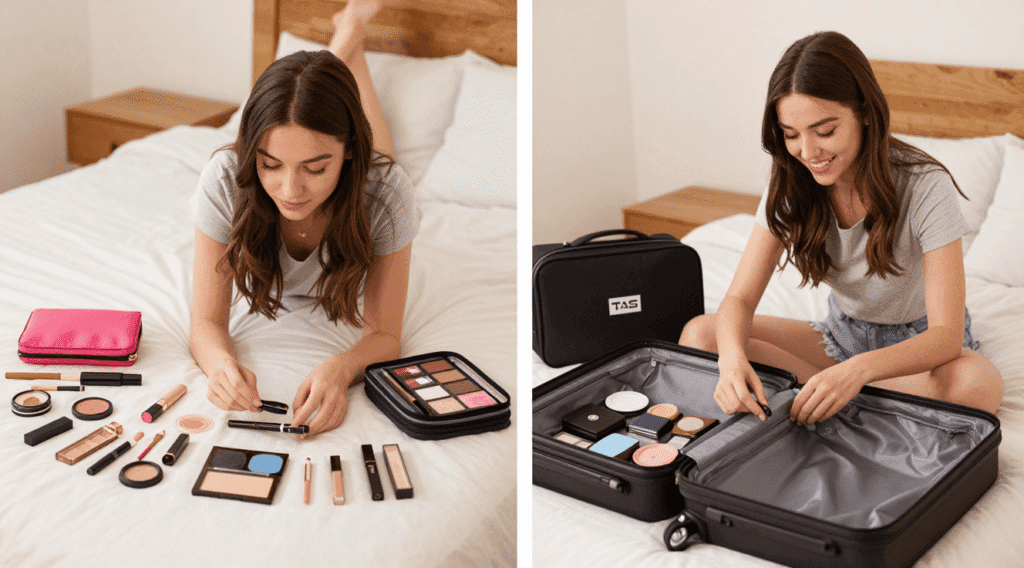
Step 1: Lay Everything Out First
Before anything goes into a bag, lay every product you are considering bringing onto a flat surface. This visual inventory almost always reveals that you have too many products planned before you even start packing.
Look at the full layout and ask yourself three questions for each product. Do I use this every single day at home? Does this product do something that another product in this layout also does? What happens if I leave this behind?
If the answer to the first question is no, it is the first candidate to leave behind. If two products do the same job, keep the more versatile one and leave the other. If leaving a product behind means you can do everything you planned to do on this trip, leave it.
Step 2: Separate Liquids from Non-Liquids
Once you have narrowed your selection, separate everything into two piles. Liquids, gels, creams, and anything that needs to go in your TSA quart bag. And solid or non-liquid products that can go anywhere.
Count the liquid products and estimate their container sizes. Everything needs to fit in one quart-sized bag. If it does not all fit, something needs to go.
Step 3: Pack Fragile Products with Protection
Powder products like eyeshadow palettes and pressed powders are fragile. A direct hit during baggage handling or being stacked under heavier items in your carry on can shatter them.
Wrap powder products in a clothing item, a sock works perfectly, before placing them in your cosmetics bag. This simple step has saved countless eyeshadow palettes from arriving as a pile of colorful dust.
Alternatively, place a cotton ball or a round cotton pad inside pressed powder compacts before closing them. The padding absorbs impact and keeps the powder intact.
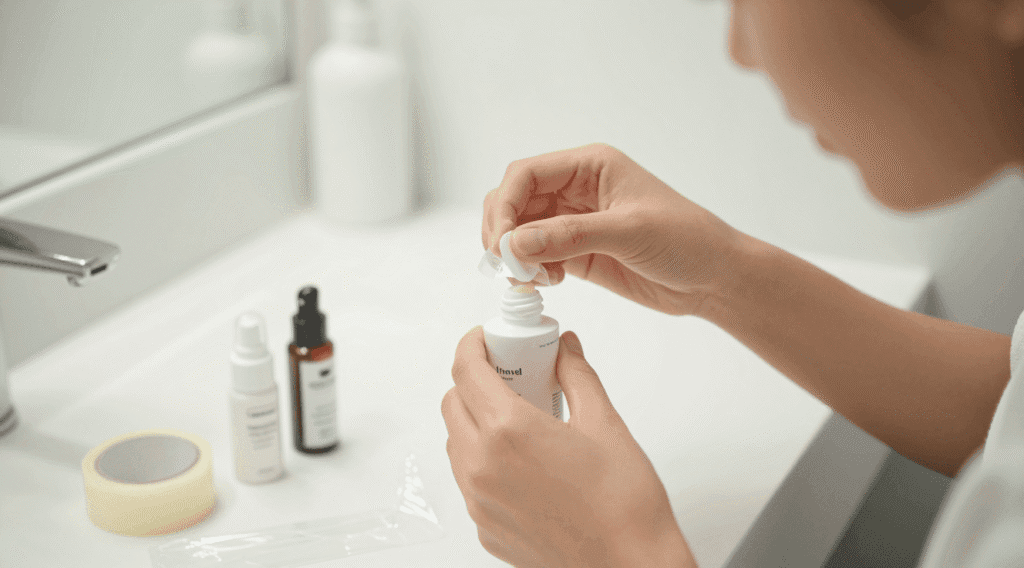
Step 4: Prevent Leaks Before They Happen
Liquid products in travel bags leak. It is not a matter of if but when. Taking two minutes to prevent leaks before your trip saves you from arriving at your destination to find your moisturizer has emptied itself onto your cleanser which has somehow gotten into your mascara.
For screw-top products, cut a small piece of plastic wrap and place it over the opening before screwing the cap back on. This creates a secondary seal. For pump bottles, tape the pump head down with a small piece of tape so it cannot accidentally dispense in your bag.
Place all your liquid products in a small zip-lock bag even inside your larger cosmetics bag for a second layer of leak protection.
The 3 Day Carry On Cosmetics Kit by Skin Type
For Dry Skin Types
Dry skin travelers need to prioritize hydration products above everything else. Your liquid allowance should prioritize a hydrating serum, a rich but travel-friendly moisturizer, and an SPF product. For base makeup, a dewy finish tinted moisturizer works better than a matte foundation which can emphasize dry patches.
Keep a facial mist in your quart bag for refreshing skin throughout travel days. Skip powder-heavy finishing products in favor of a hydrating setting spray. Your concealer should be a creamy formula rather than a dry finish one.
For Oily and Combination Skin Types
Oily skin travelers can be slightly more generous with powder products since they do not count as liquids. A pressed setting powder is essential and takes no liquid allowance. A mattifying primer in a travel size is worth including if your skin gets shiny quickly.
For base makeup, a foundation with a matte or satin finish in a travel size or compact form works better than a tinted moisturizer which may not provide enough oil control. A salicylic acid-based toner in a small container handles both toning and keeping pores clear during travel.
For Sensitive Skin Types
Sensitive skin travelers should keep their kit as simple as possible. Travel is already stressful for reactive skin. Introducing new products or bringing too many products increases the risk of reactions far from home.
Stick to products you already know your skin tolerates well. Fragrance-free formulas are particularly important since sensitive skin tends to react more strongly when already stressed by travel conditions. Bring a soothing aloe vera gel in a travel container as both an after-sun treatment and a calming layer under your moisturizer.
Tools and Brushes for a 3 Day Trip
The Minimal Brush Kit
You do not need your full brush collection for a 3 day trip. For a complete makeup application with a minimal brush kit, you need exactly three tools.
A foundation brush or beauty sponge for applying your base. A fluffy blending brush that can apply eyeshadow, blend out concealer, and dust setting powder. And a clean mascara spoolie for brows and separating lashes after mascara.
Three tools that cover every application step. If you use your fingers for foundation and concealer, which works completely fine for natural and everyday looks, you only need the eyeshadow brush and the spoolie.
Protecting Your Tools During Travel
Brushes get bent and misshapen when packed loosely. A small brush roll or even a simple pencil case keeps bristles protected and in shape. Roll brushes in a soft cloth or place them with bristles facing up along the side of your cosmetics bag where they will not be compressed.
Frequently Asked Questions
Can I bring perfume in my carry on bag?
Yes, as long as the bottle is 3.4 ounces or under and fits in your quart bag. A standard perfume bottle is often larger than this, so a travel-size decanted roller ball or a travel spray is the practical solution. Many perfume brands sell travel-size versions specifically for this reason.
What if my moisturizer or foundation is just slightly over 3.4 ounces?
TSA does not make exceptions for “almost” compliant containers. If the container says 4 ounces, it does not matter if it is only half full. The container size is what is assessed. Decant the amount you need into a travel container that is clearly under 3.4 ounces.
Can I bring makeup wipes in my carry on?
Yes. Individually wrapped makeup wipes and face wipes are generally not considered liquids and can go in your main bag. Pre-moistened pads in a sealed resealable bag may be considered a liquid depending on the TSA officer, so when in doubt put them in your quart bag.
Is dry shampoo allowed in a carry on?
Aerosol dry shampoo counts as a liquid under TSA rules and must comply with the 3.4 ounce rule and fit in your quart bag. Powder dry shampoo does not count as a liquid and can go anywhere in your bag. For carry on travel, powder dry shampoo is the easier option.
How do I keep powder products from breaking during travel?
Wrap them in a soft item of clothing like a t-shirt or a sock before placing in your bag. Alternatively place a cotton ball inside compact powder products before closing to absorb any impact. Keep powder products toward the middle of your bag where they are cushioned by softer items rather than at the edges where they can get knocked directly.
Final Thoughts
Packing cosmetics in a carry on for a 3 day trip is about making intentional choices rather than cramming in everything you own and hoping for the best.
The travelers who do this well are not the ones with the most discipline or the most minimalist beauty routines. They are the ones who have a clear system. They know the TSA rules. They choose multi-use products intentionally. They decant instead of defaulting to full sizes. And they pack for what they will actually do rather than every theoretical scenario.
Three days is a short trip. You can look exactly the way you want to look with a well-chosen kit of 10 to 15 products that fits comfortably in a single quart bag plus a small cosmetics pouch.
Pack smart. Move through security without stress. Arrive at your destination with everything you need and nothing you don’t.
That is the goal and now you have every tool you need to get there.