Last updated: 31 October 2026
Short Answer
For most Karakoram treks, buy a well-fitting, broken-in, waterproof mid-to-high-cut trekking boot with a stiff sole and deep lugs — not a trail runner, and not a heavy mountaineering boot unless you are crossing glaciers with crampons. The Karakoram’s signature terrain is rocky moraine, loose scree and river crossings at 3,500 to 5,500 m, and that terrain punishes soft soles, low cuts and new boots equally. Fit matters more than brand: a boot that fits perfectly and has been walked in for 2 to 4 weeks before departure will beat a famous boot that has not. One verified example in this logic is the KEEN Targhee 3 — see the affiliate note below — but the buying rules in this guide apply to any boot you choose.
Which type of boot suits which Karakoram trek?
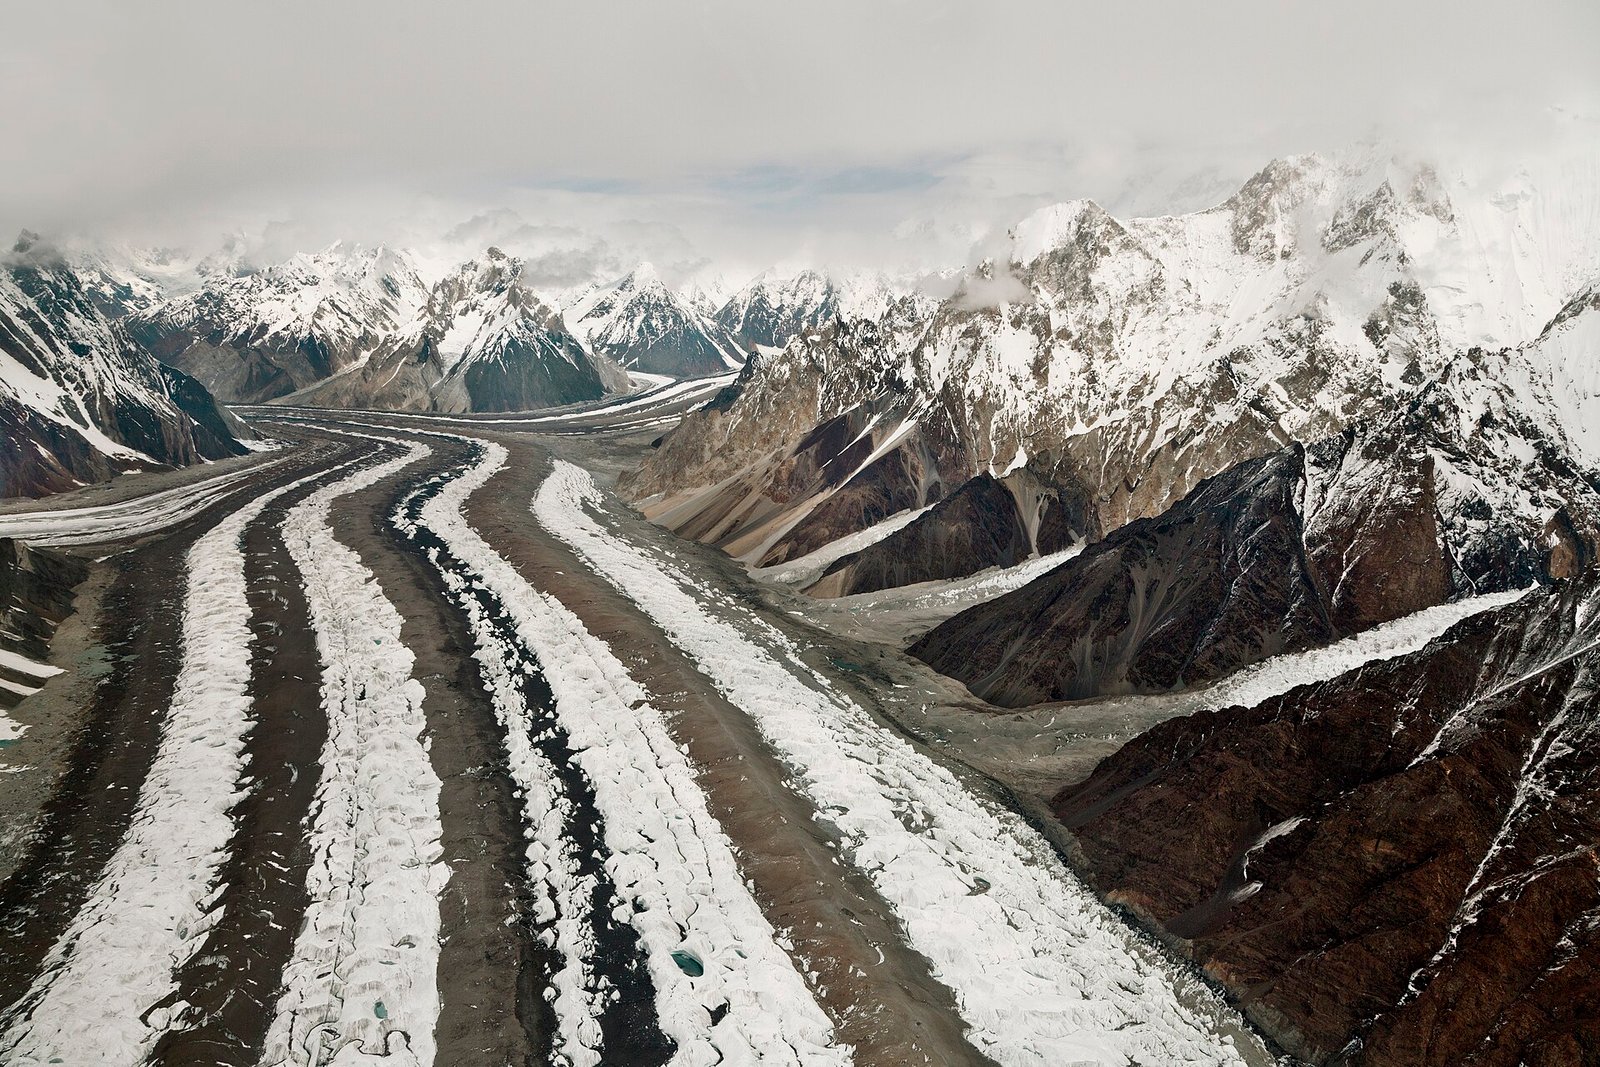
| Trek type | Terrain and altitude | Boot to choose |
|---|---|---|
| Valley day hikes (Hunza, Nagar, Skardu valleys) | Graded paths, under 3,500 m, light pack | Mid-cut hiking boot, or a sturdy low-cut shoe if you are experienced and the path is dry |
| Multi-day valley and base-camp treks (Rakaposhi, Rush Lake, Fairy Meadows–Beyal) | Rocky moraine, scree, river crossings, 3,500–5,000 m | Waterproof mid-to-high-cut trekking boot, stiff sole, deep lugs |
| High passes (Gondogoro La, Hispar La, Snow Lake) | Scree, snow, ice possible, 5,000 m and above | High-cut trekking boot; add gaiters and microspikes; check crampon compatibility if the route needs it |
| Glacier and peak climbing (K2 base camp with glacier travel, 6,000 m peaks) | Glacier, fixed ropes, sustained snow and ice | Insulated mountaineering boot, rented or bought separately — not a trekking boot |
The common mistake is buying for the hardest day of the hardest trek you might do, and then walking 12 easier days in boots built for something else. Buy for the trek you are actually doing. If your itinerary includes a high pass, buy for the pass; if it does not, a mid-cut boot is lighter, dries faster and needs less breaking in.
What actually matters in a Karakoram boot?
Cut: how high should the boot rise?
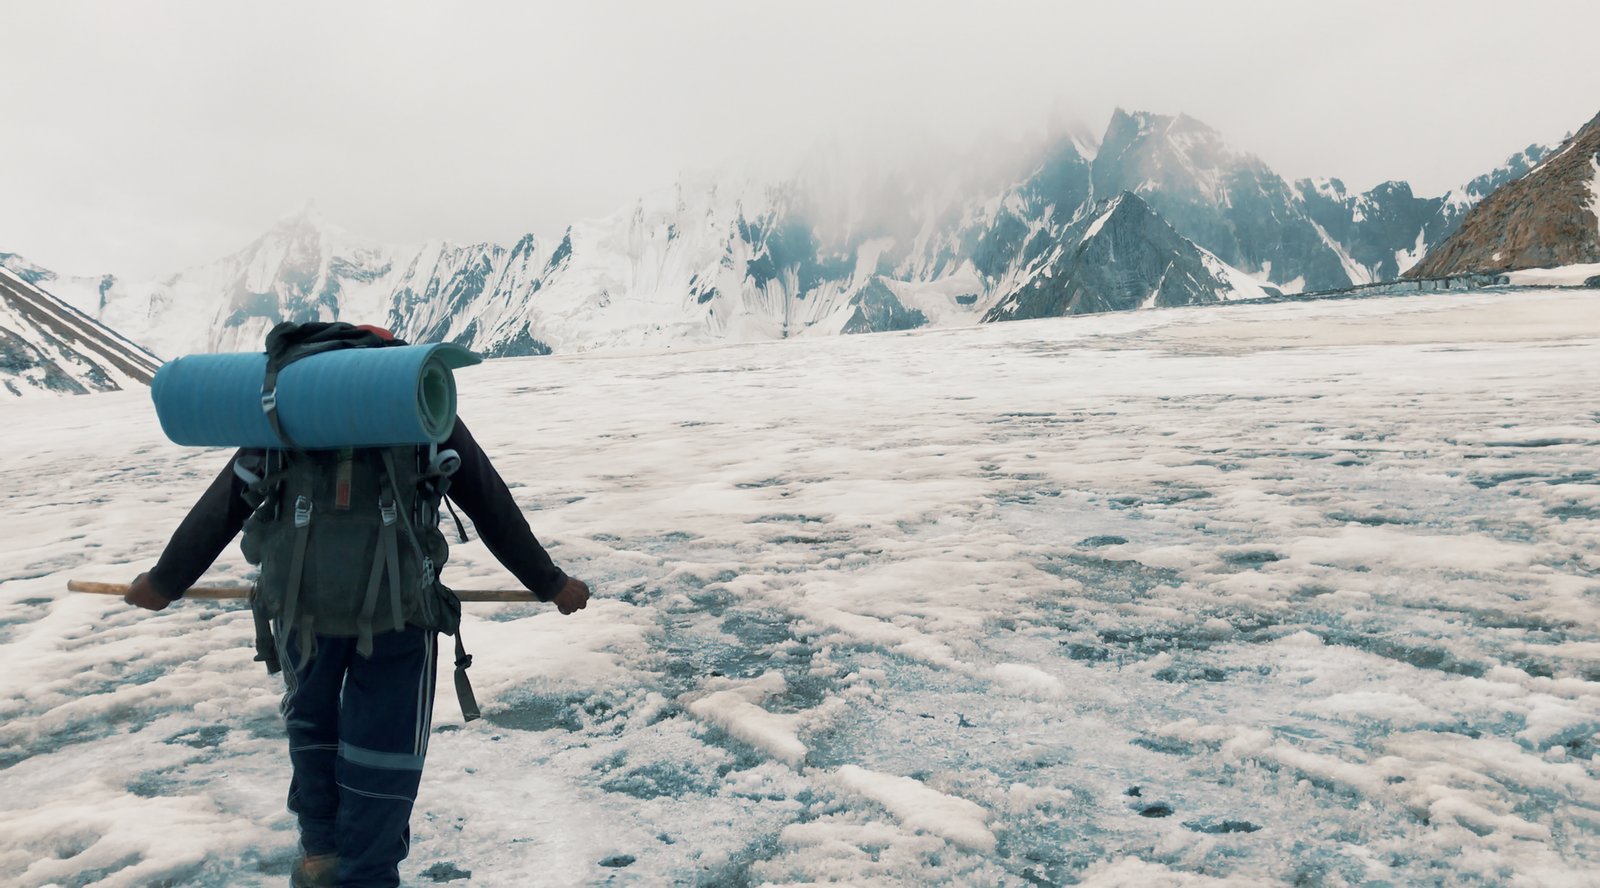
Mid-height boots rise just above the ankle bone. They keep out grit, shallow water and light snow, protect the ankle bones from knocks on rocky ground, and give more stability with a daypack or light pack than a shoe. High-cut boots add coverage and stiffness for heavier packs, rougher ground and snow. Low-cut shoes are lighter and more breathable, but they let scree in and offer little protection when a foot rolls on a loose rock — two days from the nearest road, that matters.
A high cut limits how far the foot can roll, but there is no good evidence that high boots prevent ankle sprains on their own. Ankle strength, trekking poles and careful foot placement matter as much as the boot. Buy the cut for protection and stability, not as insurance against sprains.
Sole stiffness and lugs
A stiff shank — the rigid plate inside the sole — stops the boot folding over sharp rocks and gives a stable platform on scree. A soft, flexible sole feels comfortable in the shop and punishing on the second day of moraine. Deep, well-spaced lugs grip loose rock and shed mud; shallow lugs clog and slip. When you try boots on, bend the sole: a good Karakoram trekking boot bends at the ball of the foot but resists twisting along its length.
Waterproofing: membrane or not?
A waterproof membrane is the safer default for Karakoram treks from October to May, and for any trek with river crossings, because cold, damp feet at 4,000 to 5,000 m are a real risk. The trade-off is real too: waterproof boots are warmer, less breathable, and once water gets in over the top — in a deep river crossing, for example — they dry very slowly. In hot, dry summer conditions on lower trails, a quick-drying non-waterproof boot with spare socks can be the better choice. Whatever you choose, carry gaiters for scree and snow: they keep debris out of any boot and add warmth for little weight.
Weight: the pair-weight trap
Published pair weights are rough guides for an average adult size and vary by size and brand, but the bands are useful:
| Type | Typical pair weight | Karakoram verdict |
|---|---|---|
| Trail running shoes | Roughly 500–700 g | Too light for multi-day moraine and scree |
| Low-cut hiking shoes | Roughly 700–1,000 g | Day hikes and lower, dry trails only |
| Mid hiking boots | Roughly 900–1,400 g | The sweet spot for most Karakoram treks |
| Backpacking boots | Roughly 1,300–1,900 g | Heavy loads, rough or off-trail ground, colder conditions |
| Mountaineering boots | 2,000 g and up | Glacier and peak work only |
A heavier boot costs energy on every step. Over a 14-day trek, the difference between a 1,000 g pair and a 1,600 g pair is felt in the knees and the calves long before it is felt in the wallet.
How do I get the fit right?
Fit is the whole game, and it cannot be fixed after you fly. Try boots on in the afternoon, when feet are slightly swollen, wearing the exact socks you will trek in — and bring a second, thicker pair for high passes. Check these four things:
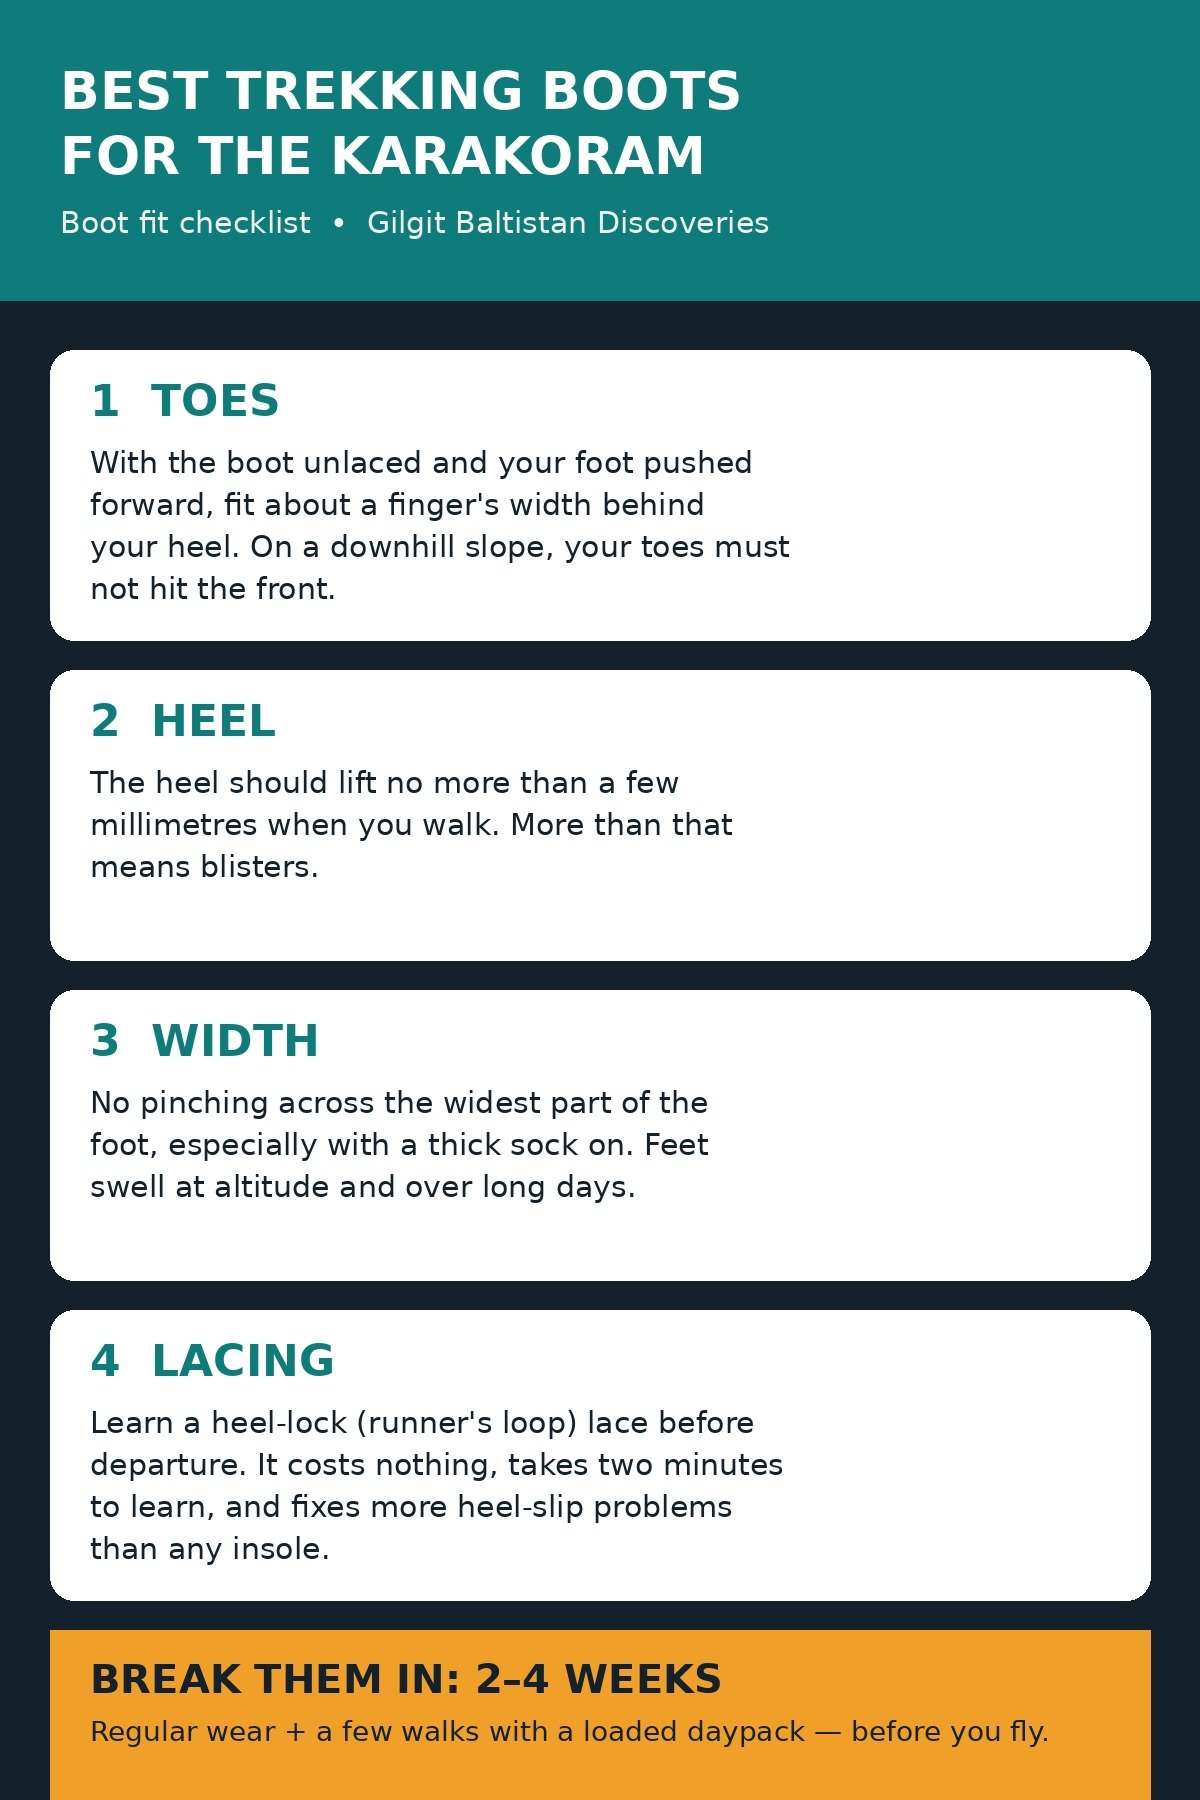
- Toes: with the boot unlaced and your foot pushed forward, you should fit about a finger’s width behind your heel. On a downhill slope, your toes must not hit the front — downhill toe-bruising is the most common boot injury on Karakoram descents.
- Heel: the heel should lift no more than a few millimetres when you walk. More than that means blisters, however good the boot looks.
- Width: the boot must not pinch across the widest part of the foot, especially with a thick sock on. Feet swell at altitude and over long days; a boot that is snug in the shop will be tight on day 5.
- Lacing: learn a heel-lock (runner’s loop) lace before departure. It costs nothing, takes two minutes to learn, and fixes more heel-slip problems than any insole.
Then break them in properly: 2 to 4 weeks of regular wear, including a few walks with a loaded daypack, before you fly. Breaking boots in on the trail itself is the fastest way to blisters by day 2. Modern synthetic mid boots need less breaking in than old full-leather boots, but “less” is not “none” — and leather boots still need the full period.
What else should go with the boots?
Boots do not work alone. Pack trekking socks in two weights (a lighter pair for valley days, a thicker pair for passes), gaiters for scree and snow, and microspikes if your route includes icy morning trails or a high pass. Carry a basic blister kit — tape, a few blister plasters and a needle for draining only if you know how — and treat hot spots the moment you feel them, not at the next camp. A spare pair of lightweight camp shoes is worth its weight: it lets your feet recover in the evening and saves your boots from being worn around camp.
Affiliate note (verified product only)
The one named product in this guide is the KEEN Targhee 3, a widely used mid-cut waterproof hiking boot that fits the mid-boot logic above: KEEN Targhee 3 on Amazon. No other product ASIN is claimed in this guide, and no price is quoted: prices change, and a guide that quotes a stale price misleads more than a guide that quotes none. Check the current price and size availability on the product page before buying, and confirm the cut, waterproofing and sole match the trek you are actually doing.
Related guides
For the wider kit picture, see our K2 Base Camp Trek Packing List and What to Pack for Northern Pakistan, and read Altitude Sickness in Gilgit-Baltistan before a high trek.
Frequently asked questions
Q: Do I need high-cut boots for the Karakoram? A: For multi-day treks on rocky moraine and scree at 3,500 to 5,500 m, yes — a mid-to-high-cut boot is the standard recommendation. For short, lower valley day hikes on graded paths with a light pack, a sturdy low-cut shoe can be enough if you are experienced and conditions are dry.
Q: How long does it take to break in trekking boots? A: Plan for 2 to 4 weeks of regular wear, including a few walks with a loaded daypack, before you fly. Modern synthetic mid boots need less breaking in than old full-leather boots, but they still need some — and breaking boots in on the trail itself is the fastest way to blisters by day 2.
Q: Are waterproof boots necessary for Karakoram treks? A: They are the safer default for most Karakoram treks, especially from October to May and on routes with river crossings, because cold, damp feet at 4,000 to 5,000 m are a real risk. In hot, dry summer conditions on lower trails, a quick-drying non-waterproof boot with spare socks can be better — waterproof boots dry very slowly once water gets in over the top.
Q: Can I trek in trail runners in the Karakoram? A: On shorter, lower, dry-weather routes with a light pack, experienced trekkers do. Above 3,500 m, on river crossings, or on passes with scree and snow, a proper trekking boot with ankle protection is safer — a rolled ankle two days from the nearest road is a serious problem, not an inconvenience.
Q: What is the best boot for K2 base camp? A: A waterproof mid-to-high-cut trekking boot with a stiff sole and deep lugs, broken in for 2 to 4 weeks before departure. You do not need an insulated mountaineering boot for the standard K2 base camp trek itself; you need one only if you are adding glacier travel with crampons or a peak climb.