Last updated: 1 November 2026
Short Answer
For multi-day trekking in Pakistan, buy a backpack by fit first, size second, and brand last. Fit means your torso length, not your height: measure from the bony bump at the base of your neck (the C7 vertebra) to the top of your hip bones, and buy the pack size that matches that measurement. Size means litres matched to the trip: 20–30 litres for a day walk, 30–50 litres for a weekend, 50–70 litres for a multi-day trek where you carry your own kit, and 70 litres or more only for expedition-style loads. And load logic means this: on a porter-supported Karakoram trek you carry a daypack, not an expedition pack — the porters carry the big bag, and your job is to carry the things you need between camps. This guide is about trekking backpacks you carry on your back on the trail, not duffel bags: duffels are what porters and pack animals carry, and they are a different buying decision entirely.
What size backpack do I need for trekking in Pakistan?
Pack size is measured in litres, and the right number depends on how many nights you carry for and whether anyone else carries your main bag. The standard industry bands, as published in REI’s backpack sizing guidance, are:
| Trip type | Pack size | Pakistan example |
|---|---|---|
| Day walk | 20–30 litres | Fairy Meadows day walk, Rakaposhi viewpoint, a Beyal Camp day trip |
| Weekend, 1–3 nights | 30–50 litres | A 2–3 day Rakaposhi base camp trek, carrying your own overnight kit |
| Multi-day, 3–5+ nights, self-carried | 50–70 litres | A self-supported multi-day trek where you carry tent, food and clothing |
| Expedition, a week or more, self-carried | 70–80+ litres | Only if you genuinely carry everything yourself for 10+ days |
Most backpacking packs start at about 45 litres and range to 80 litres, so the multi-day trekking range sits squarely in the 50–70 litre band for self-carried trips.
But here is the Pakistan-specific twist that changes the answer for most trekkers: the classic Karakoram treks are porter-supported. On the K2 base camp trek — a 14-day trip on the itinerary of the Gilgit-Baltistan local operator behind this site — porters carry your main bag between camps, and you walk with a daypack. The same applies on Gondogoro La, Rush Lake, and most guided multi-day treks in Hunza, Nagar and Baltistan. That means:
- Your trail pack is a 20–30 litre daypack, carrying water, warm and waterproof layers, sun protection, snacks, a first-aid kit, and your satellite communicator.
- Your main bag is a large duffel, not a backpack — typically 70–95 litres — which porters carry. It does not need a hip belt or a fitted harness, because you do not carry it on the trail. Do not buy an 80-litre expedition backpack for a porter-supported trek: you will pay for a harness you never use, and porters load duffels far more easily than rigid framed packs.
- If you trek unguided and self-supported, the 50–70 litre band applies in full, and the fit advice below matters even more, because you will carry that weight for 6–8 hours a day.
So the first question is not “what size backpack?” but “who carries my main bag?” Answer that, and the size answers itself.
How do I get the fit right? Torso length, not height
The single most common backpack buying mistake is choosing by height or by brand. Backpacks are sized by torso length, and two people of the same height can need different pack sizes. Here is how to measure, following the standard fitting method:
- Find your C7 vertebra. Tilt your head forward and feel along the base of your neck for the most prominent bony bump. That is the top of your torso measurement.
- Find your iliac crest. Put your hands on your hips: the top of your hip bones, where your thumbs point on your back, is the bottom of the measurement.
- Measure between them with a flexible tape, following the curve of your spine. That number — in inches or centimetres — is your torso length.
Typical size bands, as published in fitting guides, are roughly: extra small up to about 15.5 inches, small 16–17.5 inches, medium/regular 18–19.5 inches, and large/tall 20 inches and up — but every manufacturer cuts slightly differently, so always check the specific pack’s size chart rather than trusting a generic band. If you fall between sizes, most good packs have an adjustable harness that can be repositioned; an adjustable harness adds a little weight, which is a fair trade for a correct fit.
Once the torso size is right, fit the pack in this order — and do it with weight inside, not empty:
- Hip belt first. Fasten it so it sits on top of your hip bones, with the top of the belt about an inch above the iliac crest. It should feel snug without pinching. This is the most important adjustment on the whole pack.
- Shoulder straps second. Tighten them until they sit snugly, but they should not carry the load — there should be roughly a finger’s width of space between the top of your shoulders and the straps when the hip belt is doing its job.
- Load lifters third. These are the straps at the top of the pack where the body meets the shoulder straps. Tighten them to roughly a 45-degree angle, pulling the pack’s weight toward your centre of gravity. If they hurt your collarbones, they are too tight.
- Chest strap last. Buckle it at a comfortable height, below the collarbones, just to stop the shoulder straps sliding off. It is a comfort strap, not a load-bearing one.
If you buy in a shop, ask to try the pack loaded with 10–15 kg and walk around for 10 minutes. A pack that feels fine empty and painful loaded has told you everything you need to know.
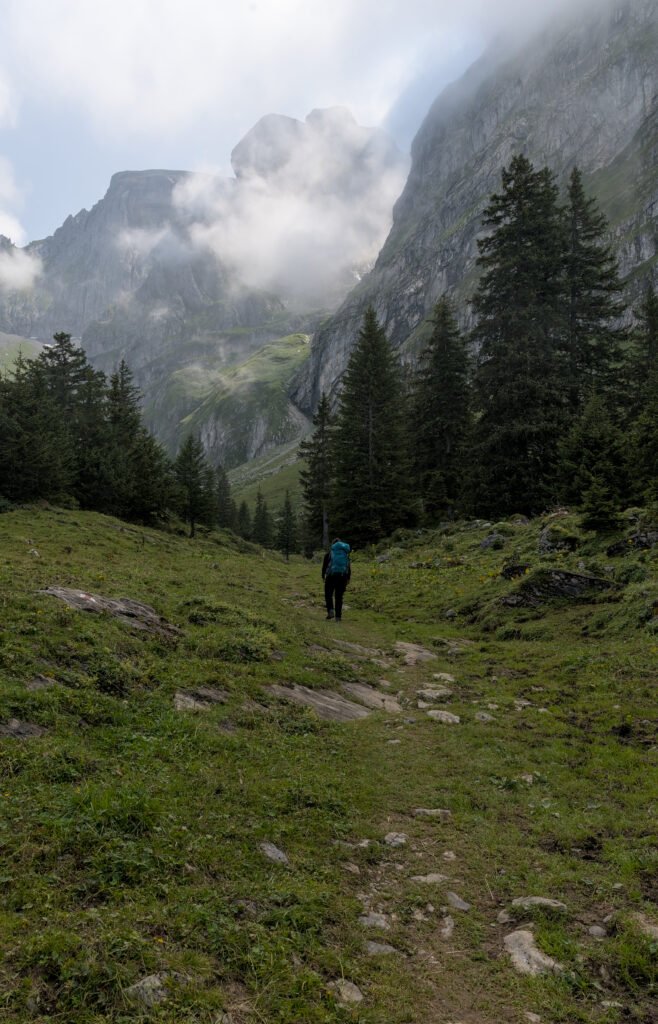
How does load logic work? The hip belt carries the pack
The principle that decides whether a multi-day trek is comfortable or miserable is simple: your hips should carry the load, not your shoulders. REI’s fitting guidance states that 80 percent or more of a backpack’s weight should be supported by the hips; other fitting guides put the hip-belt share at around 70 percent, with 30 percent on the shoulders. The exact split varies by pack and load, but the direction is unanimous: if your shoulders ache and your hips feel nothing, the pack is fitted wrong, not too heavy.
That gives you three practical rules:
| Rule | What it means in practice |
|---|---|
| Hips carry, shoulders stabilise | If shoulder pain is your main complaint, refit the hip belt before blaming the pack |
| Total load ceiling | A common rule of thumb is never to carry more than one-third of your body weight — for a 75 kg trekker, that is 25 kg, and most trekkers should aim well below it |
| Pack weight matters too | A 50-litre pack itself can weigh 1.5–2.5 kg; on a self-carried trek, every kilogram of pack is a kilogram less of useful kit |
On a porter-supported Karakoram trek, your daypack will weigh roughly 5–8 kg: 2–3 litres of water, layers, rain shell, snacks, camera, and safety kit. That is a light load, and almost any well-fitted 25-litre daypack handles it. On a self-supported trek, your full pack may weigh 15–20 kg, and that is where torso fit, hip-belt quality and load-lifter geometry stop being theory and start being the difference between a good trek and a bad back.
One more piece of load logic specific to Pakistan: porter weight limits are real. On the K2 base camp trek, porters carry a regulated maximum per porter, and your duffel is weighed at the road-head — overweight bags are repacked or charged extra. Pack your duffel to the limit, not beyond it, and keep your daypack light: the lighter your daypack, the faster and happier you walk at 4,000 m and above.
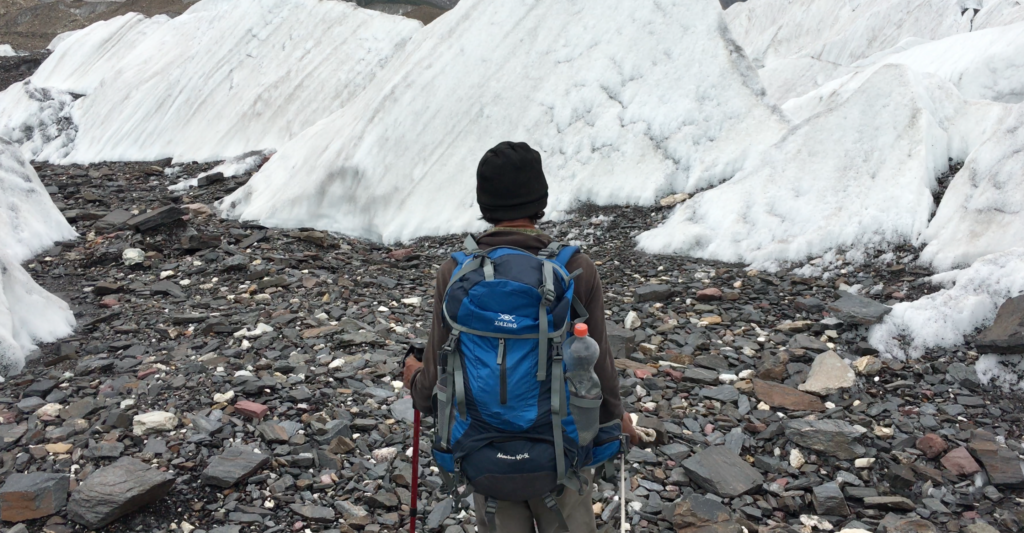
What features actually matter on a trekking backpack?
Ignore the marketing list and check these, in order:
- Adjustable, padded hip belt. The single most important feature on any pack over 30 litres. If the belt cannot be tightened enough for your waist — hip belts typically span roughly mid-20 inches to mid-40 inches — the pack will never fit, whatever else it offers.
- Ventilated back panel. Karakoram days are hot in the sun even at altitude. A suspended mesh or channelled back panel keeps air moving and reduces the sweaty-back problem that makes every rest stop unpleasant.
- Rain cover or waterproofing. Afternoon showers and glacier-stream crossings are normal. A built-in rain cover is worth more than a “water-resistant” fabric claim; a pack liner (a heavy-duty dry bag inside the main compartment) is the belt-and-braces version that actually works.
- Side pockets for water bottles. You drink 3–4 litres a day at altitude. Bottles must be reachable without removing the pack — and a hydration bladder, if you use one, must be easy to refill at a stream.
- Top lid or roll-top access. On a multi-day pack, a floating top lid that rises for an overstuffed load, or a roll-top that compresses down as food is eaten, beats a fixed lid that fights you for a week.
- Compression straps. These pull the load close to your back, stop it shifting on moraine and scree, and let a half-empty pack ride like a smaller one.
- Hip-belt pockets. For sunscreen, lip balm, snacks and your satellite communicator — the small things you reach for ten times a day without stopping.
What does not matter as much as sellers claim: the number of pockets (more pockets means more weight and more places to lose things), built-in “features” you will never use on a glacier, and colour. Buy the fit, not the feature list.
What should I carry myself, and what goes to the porters?
This is the packing decision that makes the backpack choice work. On a porter-supported trek:
| In your daypack (you carry) | In your duffel (porters carry) |
|---|---|
| 2–3 litres of water, plus a filter — the Sawyer Squeeze on Amazon is the pre-verified filter in our packing guides | Sleeping bag and mat |
| Warm layer and waterproof shell | Spare clothing, in a dry bag |
| Sun hat, sunscreen, sunglasses | Toiletries and camp shoes |
| Snacks for the day | Charging kit and power bank — the Anker PowerCore on Amazon |
| First-aid kit, blister kit, any personal medication | Anything you will not need until camp |
| Satellite communicator, phone, headlamp | Books, chargers, non-essentials |
| Passport/permits copy, cash in small notes | The rest of your luggage |
On a self-supported trek, the same list goes into one pack, and the discipline is the opposite: everything must earn its weight, because you carry all of it, all day, at altitude. The usual self-supported mistake is carrying “just in case” items that are never used; the usual porter-supported mistake is overloading the daypack with things that could wait in the duffel until camp.
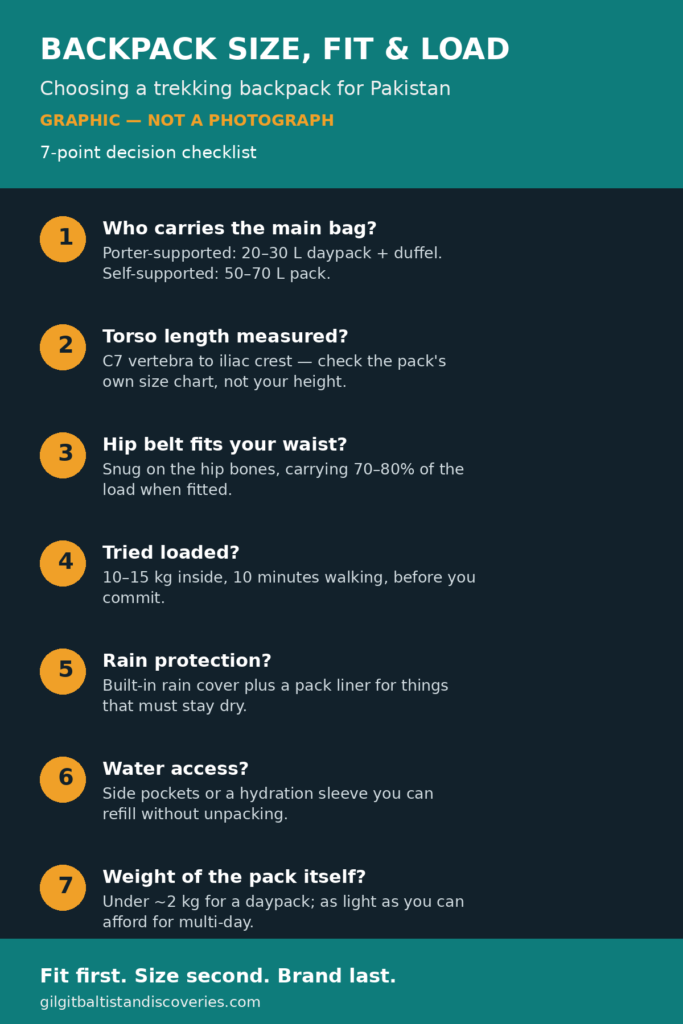
What should I actually buy? A decision checklist
- Who carries the main bag? Porter-supported → a 20–30 litre daypack plus a duffel. Self-supported → a 50–70 litre trekking pack.
- Torso length measured? C7 vertebra to iliac crest, in inches or centimetres, checked against the specific pack’s size chart — not your height, not your usual clothing size.
- Hip belt fits your waist? Snug on the hip bones, adjustable within its range, and carrying 70–80 percent of the load when fitted.
- Tried loaded? 10–15 kg inside, 10 minutes walking, before you commit — empty-pack comfort means nothing.
- Rain protection? Built-in rain cover plus a pack liner for the things that must stay dry.
- Water access? Side pockets or a hydration sleeve you can refill without unpacking.
- Weight of the pack itself? Under about 2 kg for a daypack, and as light as you can afford for a multi-day pack without losing the hip belt and frame that make it carry well.
No specific product ASIN is claimed for backpacks in this guide, and no price is quoted: prices change, and a stale price misleads more than no price. Use a tagged search to compare current options — trekking backpacks on Amazon — and judge every option against the checklist above, not against its marketing headline.
Related guides: K2 Base Camp Trek Packing List, What to Pack for Northern Pakistan, Best Down Jacket for High-Altitude Trekking in Pakistan, Best Trekking Boots for the Karakoram, Altitude Sickness in Gilgit-Baltistan.
Frequently Asked Questions
What size backpack do I need for the K2 base camp trek?
On a porter-supported K2 base camp trek, you walk with a 20–30 litre daypack carrying water, layers, snacks and safety kit, while porters carry your main bag — usually a 70–95 litre duffel. Only self-supported trekkers need a 50–70 litre pack, because they carry tent, food and clothing themselves for the whole trek.
How do I measure my torso length for a backpack?
Tilt your head forward and find the most prominent bony bump at the base of your neck — the C7 vertebra. Then find the top of your hip bones, the iliac crest. Measure between those two points with a flexible tape following your spine’s curve. That measurement, not your height, decides your pack size.
Should my hips or shoulders carry the backpack’s weight?
Your hips should carry it. Fitting guidance puts roughly 70–80 percent of a pack’s weight on the hip belt, with the shoulders stabilising rather than carrying. If your shoulders ache and your hips feel nothing, refit the hip belt first — tighten it onto your hip bones before you blame the pack’s weight.
Is a duffel bag or a backpack better for trekking in Pakistan?
Both, for different jobs. A duffel is better for the main bag on a porter-supported trek — porters load duffels easily and you never carry it on the trail. A backpack is better for what you carry yourself: a fitted daypack on guided treks, or a 50–70 litre pack if you are self-supported and carry everything.
How heavy should my trekking backpack be?
Aim for no more than one-third of your body weight as an absolute ceiling — 25 kg for a 75 kg trekker — and well below it in practice. On a porter-supported trek your daypack should weigh roughly 5–8 kg; self-supported, 15–20 kg is realistic, and every kilogram of pack is a kilogram less of useful kit.